Procedural terrain generation
Turning a flat plane into terrain: subdividing a grid, shaping it with Perlin noise, painting it by height, and animating the water with a few sine waves.
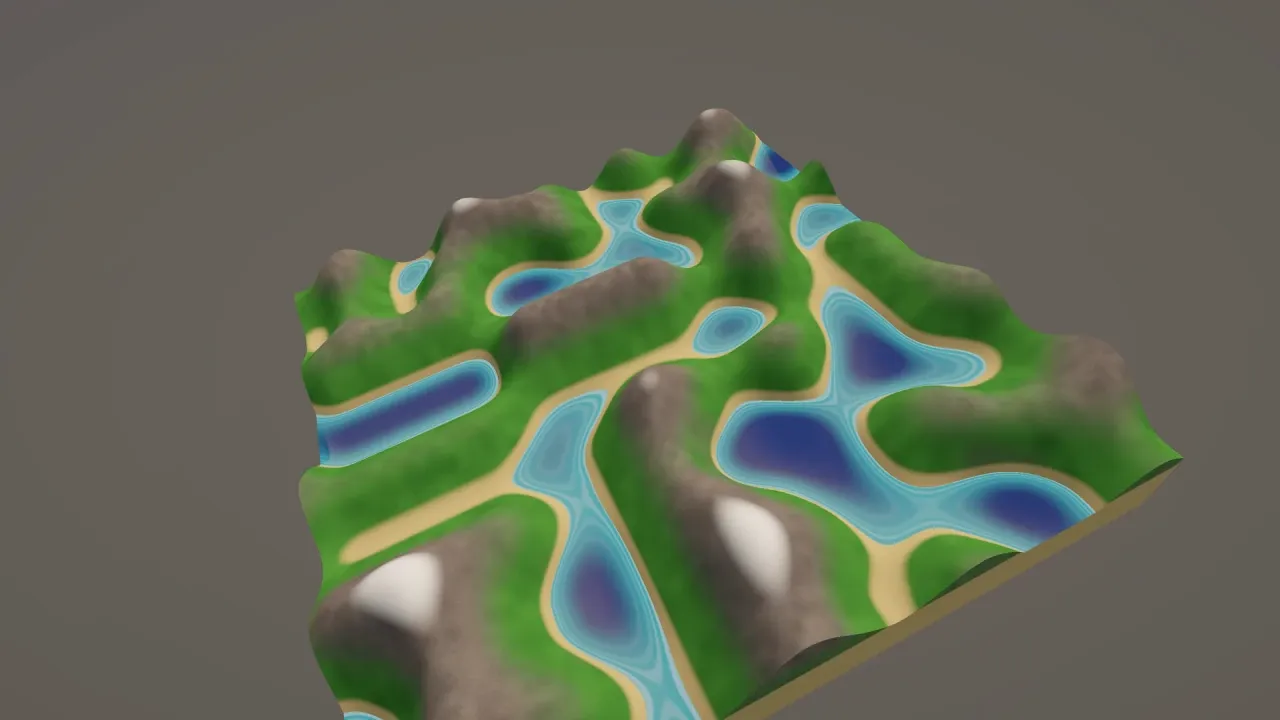
I want to talk a little bit about procedural content generation. The idea behind procedural content generation is to create worlds, animations, and textures using mathematics and rule-based systems. The reason I find this domain particularly interesting is that it has endless possibilities. And it’s also just really cool to go from mathematics, something that’s usually very abstract, to something you can actually see and interact with.
The first topic I want to discuss is using procedural content generation to generate worlds. Here you can see something I’ve made in Unity. If you scroll to the bottom of the page, you can see there’s a little bit of animation going on even. Very simple, nothing crazy. But it does show that even with very simple ideas and concepts, you can create something reasonably interesting. And maybe in future iterations or articles, I can go deeper into more advanced techniques and build on top of what I’ve created here. Hopefully, eventually, I’ll be able to build something really cool, but you have to start somewhere. That’s kind of the idea behind why I’m starting this.
Creating the Terrain
So, what you see here is basically just a plane. It’s a flat plane with a couple of vertices, and the idea is to apply some noise to it. But of course, if you start with a plane, initially it’s just four vertices and two triangles. You can’t do much with this because there simply isn’t enough geometry to manipulate into something interesting. So instead, what we can do is very simply subdivide this grid. And we can keep subdividing it further and further, however much we need, until we reach the granularity that we want.
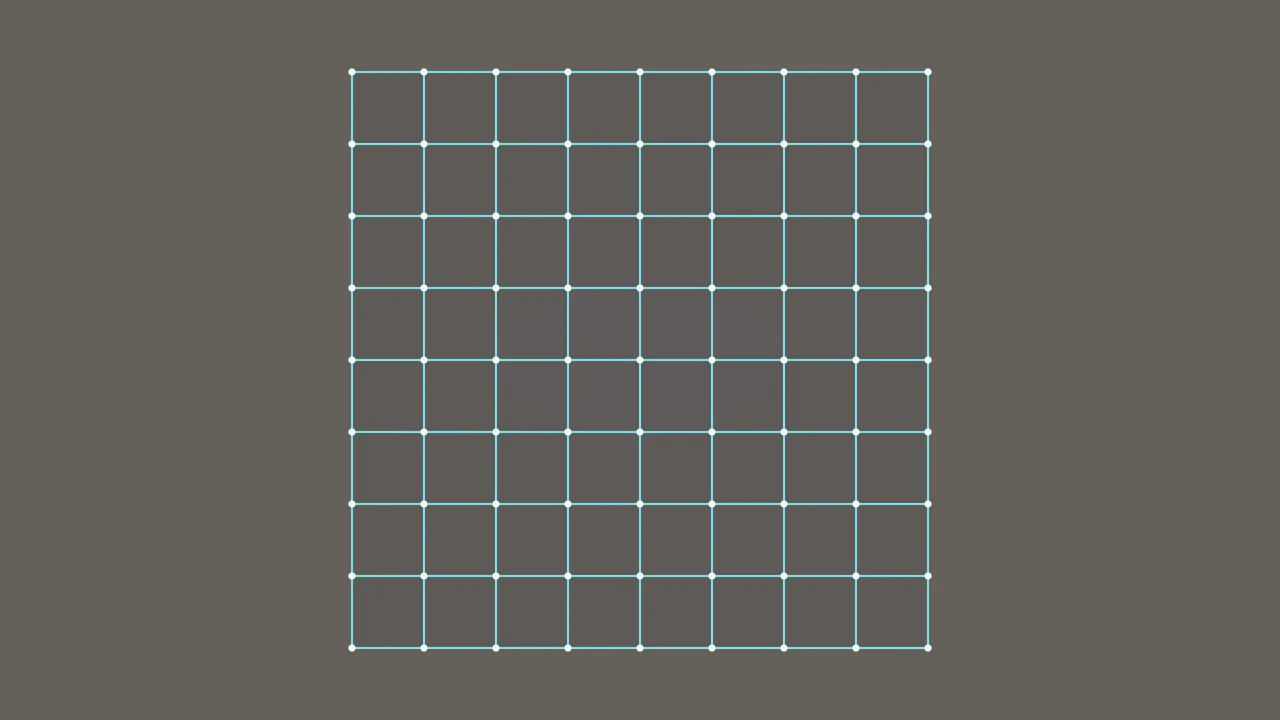
There are different levels of granularity depending on the style. You have, for example, the low-poly art style, which purposefully uses very few vertices to create something interesting. On the other hand, you have photorealism, which very often uses a very high vertex count to represent all the different details. So once we have something that’s fine-grained enough, we actually have to do something with it, of course. We have to give it a shape.
Applying Noise
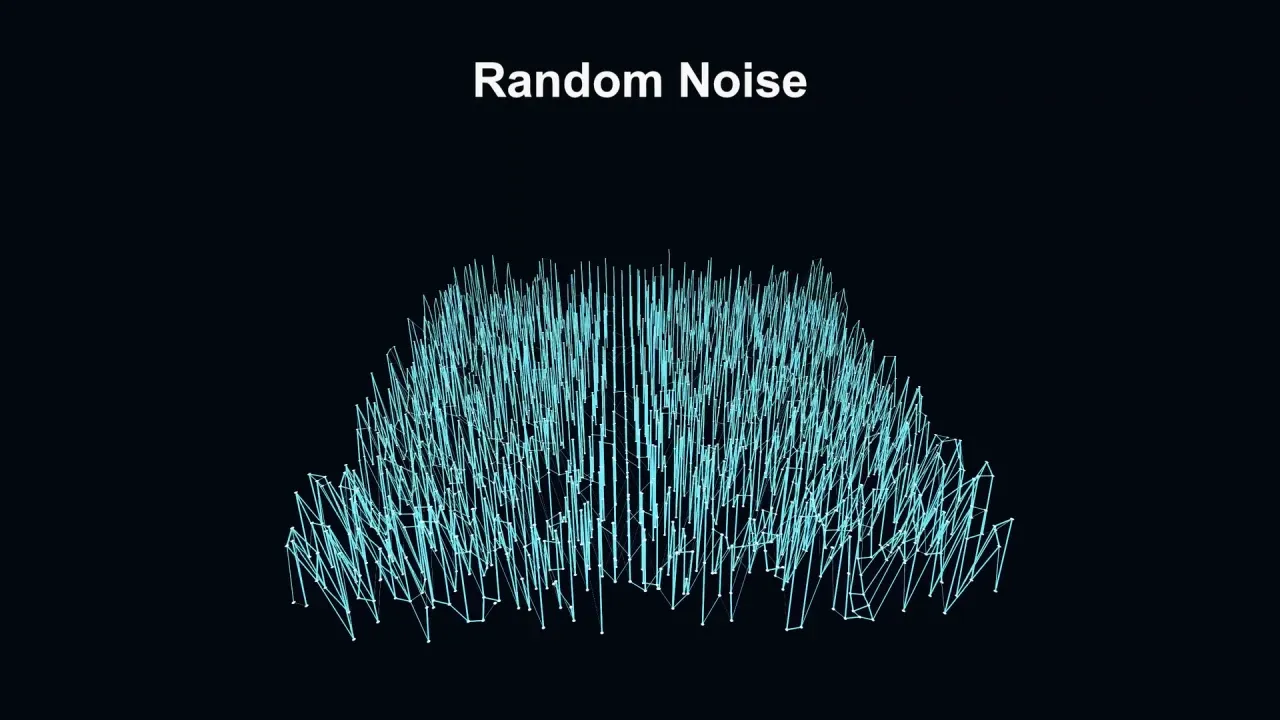
The way this is very often done in procedural content generation is by applying noise, which is basically random values. Now, of course, if you just apply completely random values, it’s not particularly interesting because everything is, well, completely random. What you need is something that’s at least a little bit more coherent. As you can see in this image, everything is completely random. That’s obviously not good enough.
So one of the first things you’ll run into if you look into procedural content generation is Perlin noise. The big advantage of Perlin noise is that the points aren’t completely independent of each other. There are a couple of parameters you can play with to define how quickly the values change from one point to another. And the cool thing is that you can actually see a wavy shape. It’s still random in the sense that if you give it a different seed, you’ll get a completely different grid. But there’s a certain level of coherence in there.
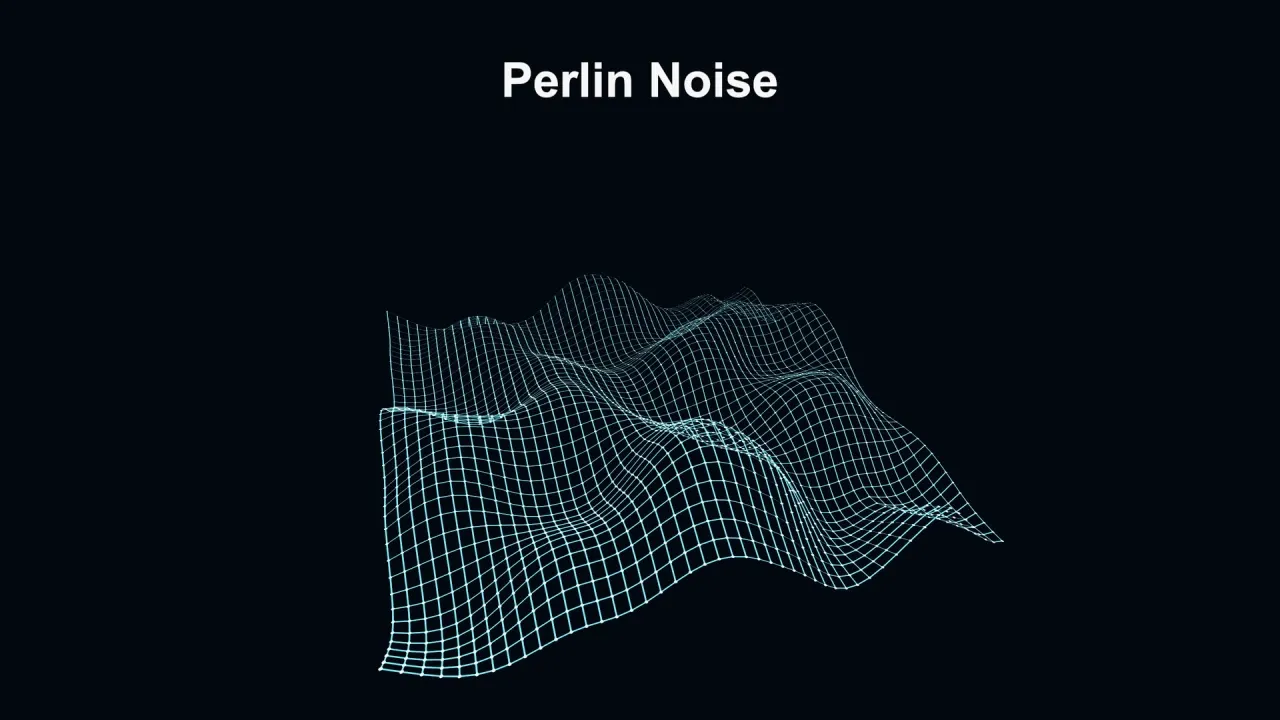
So this is good and all, but of course we need a little bit more than just a couple of mountains. Which don’t even really look like mountains yet. It’s just the shape of a mountain. That’s not really sufficient. But before we move on to adding some color, let’s first look at adding some water, because I think that will already make it look a little bit more like actual terrain.
Adding Water
So what you can do is just take a flat plane, color it blue, and maybe make it a little bit translucent. And that’s basically your water. Now, this is again not particularly great. One very simple improvement we can make is to vary the color of the water depending on its depth. In real life, you’ll notice that the water isn’t the same color everywhere. It’s slightly lighter blue closer to the coast and darker blue the further away you go. That’s something very easy to add.
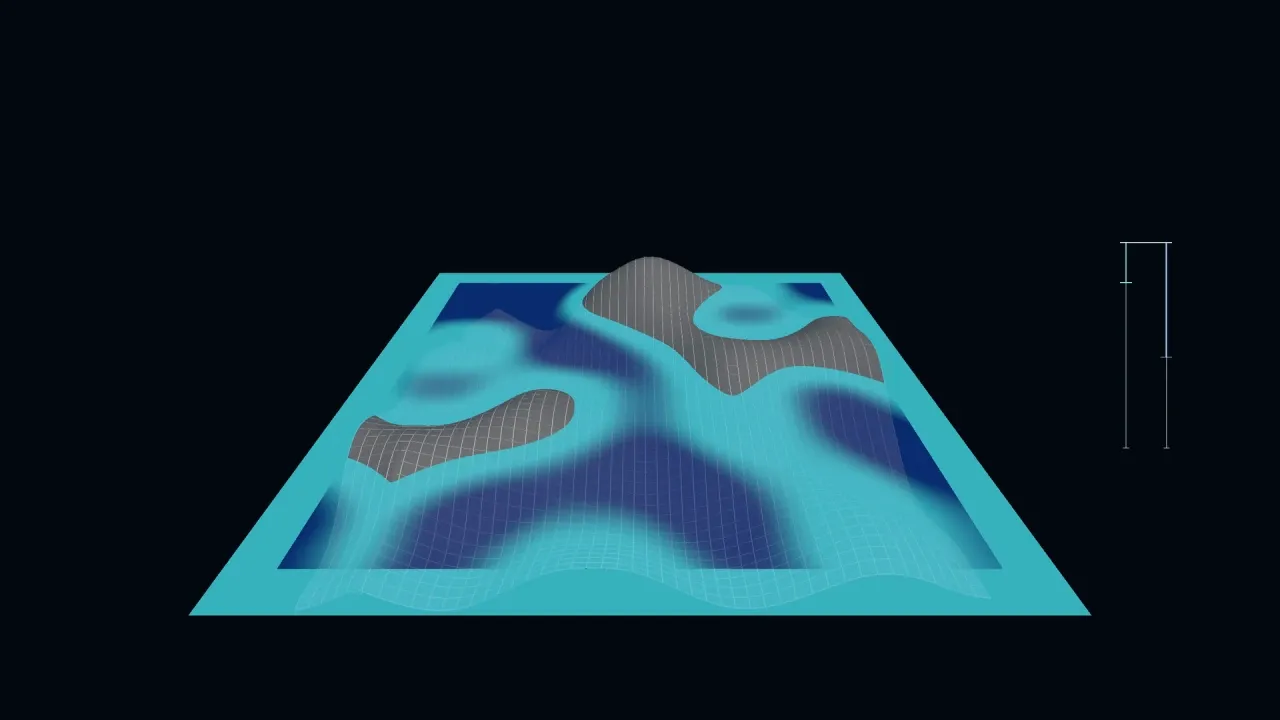
What we would have to do is basically sample the depth of the terrain at the point where we’re rendering the water. And then, depending on that depth, we pick a specific color. Now, of course, if you do this with a hard cutoff, where at a certain depth the color suddenly changes completely, that’s not going to look very natural either.
So we can use a very simple technique called linear interpolation. We basically define two thresholds. At the first threshold, the two colors start blending, until we reach the second threshold, at which point it will fully be the second color. That way, we can gradually go from very dark blue water to slightly lighter blue water closer to the coast.
Adding Color to the Terrain
All right, so now that we have that, we can move on to actually adding some color to the terrain. And again, we can use the same concept. We define different height thresholds, and once our height map reaches a specific height, we transition from one type of terrain to another. For example, very close to the water, we can say that it’s a beach, so we give it more of a brownish color. Once it goes a little bit higher, it becomes grassland. If it goes higher still, it becomes more rocky terrain, like mountains. And if we go even higher up, it becomes covered in snow.
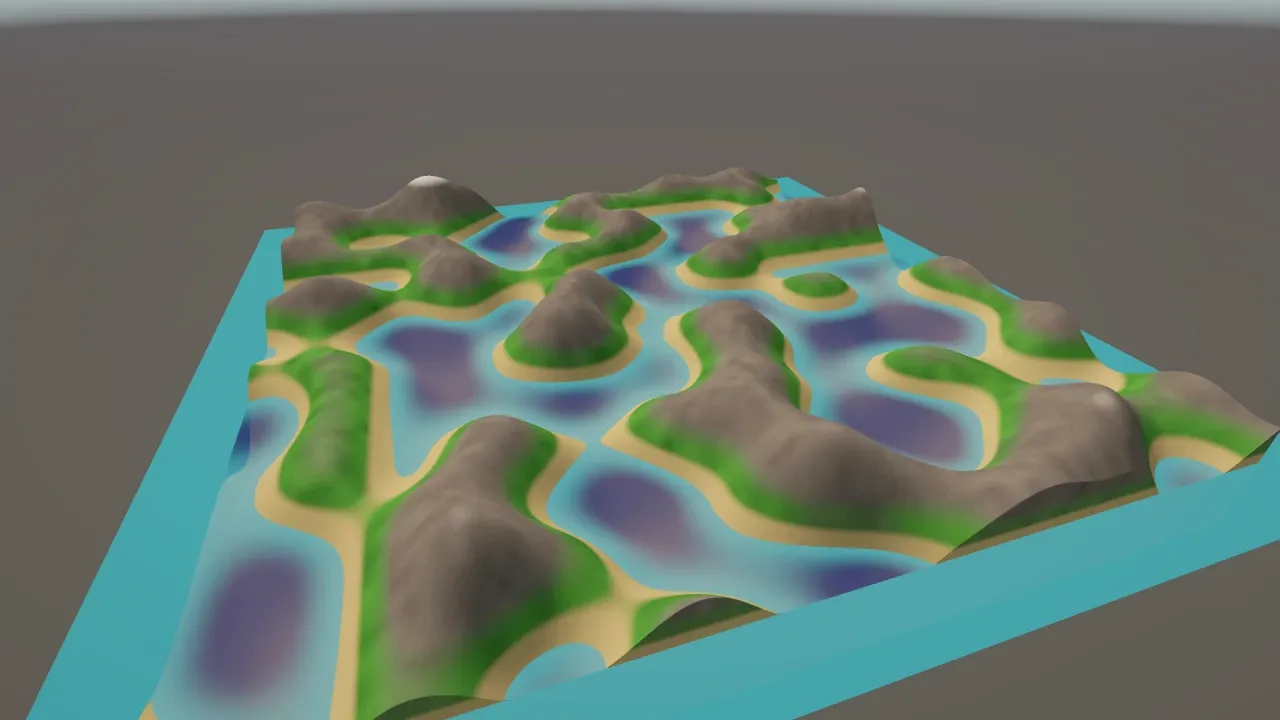
Which roughly corresponds to how the real world looks. Here too, we use thresholds and linear interpolation between them to make the transitions look a little bit more natural, so they’re not as jarring.
Adding Texture
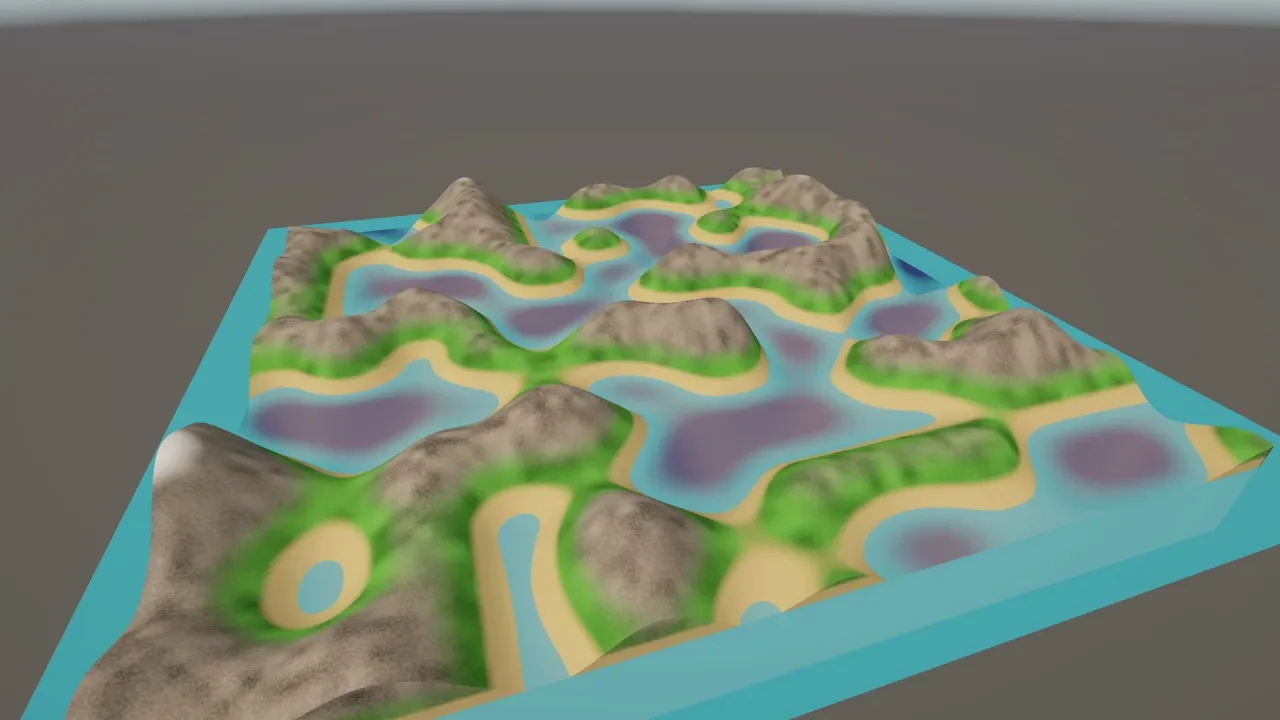
Now, this all still looks a bit bland. It’s all the same color. So one way to solve that is by adding a little bit of texture. We could apply real textures, but for now, let’s just keep it very simple. Instead, we’ll just add some noise to the terrain. This already makes it slightly less uniform and gives it a somewhat more natural appearance. So once we’ve done that, we have something that looks like this.
Animating the Water
But then, this is still just a static scene. Nothing is moving, which also makes it look a little bit unnatural. So if we want to make this a little more interesting, we could add some animation. One very simple thing we can do is add some waves moving towards the coastline.
The basic idea is that you have a couple of sine waves. You can use, for example, three sine waves that aren’t fully aligned, which gives the movement a little bit more of a random feel. And then you make them move towards the coastline and gradually disappear.
That by itself already adds a little bit of life to the scene. Even if it’s not much, it does make it look a little more real.
Final Result
So with all of this applied, we have the final scene that we’ve created here. As I mentioned at the beginning, this is more of a starting point. And from here, we can keep improving different aspects, maybe introduce some more advanced techniques, and gradually build on what we already have. Until hopefully, at some point, we actually end up with something that looks truly spectacular.
All right, so that’s it for today.